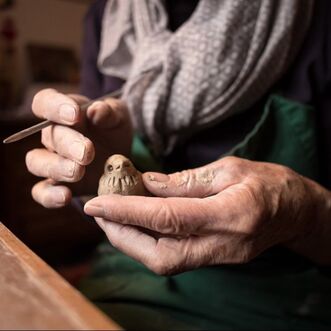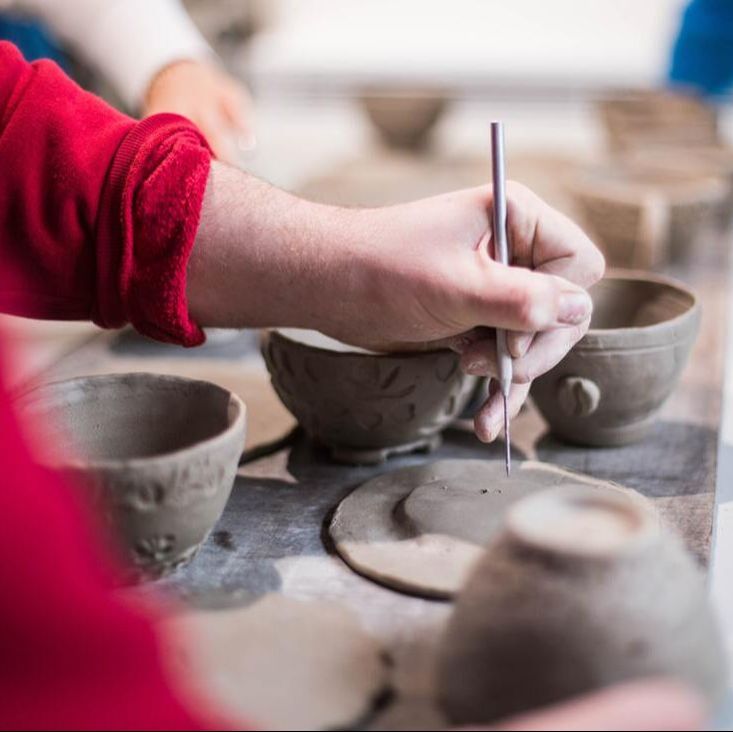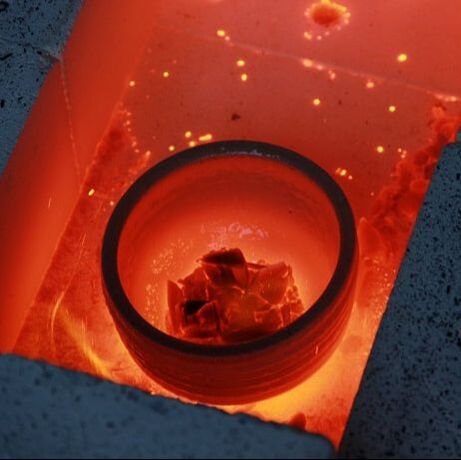
FoundationsLet's start with the core concepts of working with this material. 1. Clay is water-based.This means it will dry out over time when exposed to air. Keep your unused clay wrapped up tightly in its plastic bag. A spritz of water will restore some moisture to the clay if it begins to get too dry. If you want to save an in-progress piece for later, make sure to wrap it up between sessions. 2. Work on a porous surface.Materials like canvas, plywood, newspaper, and even old sheets can keep the clay from sticking to your table as you work. 3. Keep your clay pieces no more than the thickness of your thumb.This will allow the clay to dry and fire properly. Want to make a big sphere? Just hollow out the inside! 4. Tools are only limited by your imagination!Anything can be a tool! Explore your home to find interesting textures and objects that can be used as tools. Doilies, jewelry, and kitchen utensils are a great place to start! Just wash your makeshift tools in the laundry or dishwasher when you're done. 5. Clay is non-toxic and must be fired to be made durable.This requires extreme temperatures of over 1800° F. Unlike polymer clays (like Sculpey), putting pottery clay in the oven for a few hours won't do much. Want to keep your clay creation forever? See what studio offer firing services! Types of ClayThere are three main types of water-based clay:
DryingOnce the piece is finished, it needs to dry completely before it can be fired. Simple shapes like cups, bowls, and trays can usually be left out in the open to dry, however if you have any delicate attachments or uneven thickness in various parts of the piece, it is best to dry it slowly. Drape a sheet of plastic (like a trash bag) loosely overtop the piece. This allows some fresh air to reach the clay, but at a lesser rate than if you left it completely uncovered. After a few days, remove the plastic and let the piece finish drying in the open. It is best to dry clay pieces on a flat, porous surface. Clean UpTools and work surfaces can be cleaned with a sponge and water, and soap if needed. Clothes that get clay on them can be washed right along with the rest of your laundry, though you'll want to knock any large clumps off first. Clay can clog drains over time, so don't put a big chunk down the kitchen sink! Scrape as much off of your tools as possible before washing. Whenever sweeping up dry clay, be sure to wear a properly-rated respirator and ventilate the space as well as possible. Ready to dive in?Here are a few helpful links to get you started on your clay journey!
1 Comment
6/6/2022 12:23:28 pm
I am beginner, and this article is much needed to start this journey. Great help! Leave a Reply. |