Ever wonder how clay is made? STEP 1: Dry Materials
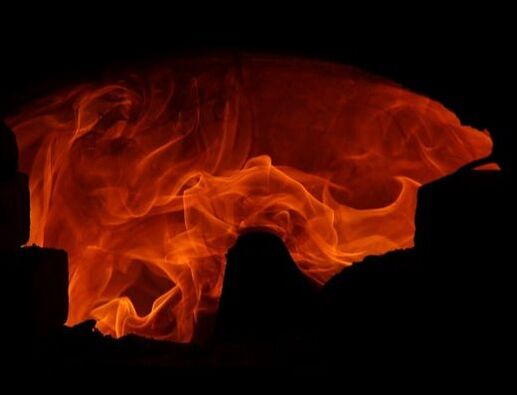
The dry materials are dumped into the clay mixer. The augur runs for a few minutes to combine the materials in their dry state. STEP 2: Water A predetermined amount of water is added to the mixer. STEP 3: Mix The augur runs for a while to ensure the ingredients are thoroughly blended. This step can take anywhere from 30-90 minutes depending on the type of clay. STEP 4: De-Airing Clay drops down from a hatch in the mixer and into the pugmill below. The clay is pushed through a vacuum chamber to remove all air. This stage is especially critical for quality control. You can see Juan returning clay to the back of the pugmill when the vacuum pressure drops below required levels. STEP 5: Packaging The finished clay is cut into 25-pound blocks by a hydraulic slicer. Then the clay crew bags, boxes, and palletizes the clay.
3 Comments
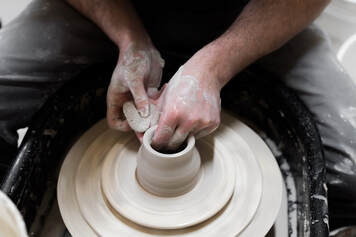
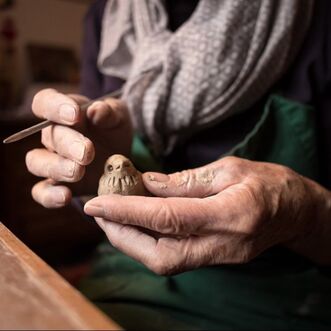
How exactly does a plate become a plate? For beginners, this process can seem mystifying and complex, but the basic steps for making a ceramic piece are relatively straightforward. In this lesson, we'll cover this process from start to finish to give you a basic understanding of how that lump of clay becomes a coffee mug.
 What's In a Glaze?
Types of GlazeGlazeThe term 'glaze' can be used as an umbrella word to encompass all fired finishes, however it more accurately refers to a product that produces a finished result on its own, without needing additional products (like a clear glaze). Commercial glazes are typically divided into two categories based on their firing range: cone 04/06 (low-fire) and cone 5/6 (mid-fire). They can also come in a variety of finishes (matte, gloss, textured, etc), and with an endless range of colors. Glazes are applied to bisqueware (clay that has been through the preliminary firing), and can be used on their own or layered with others to create interesting effects. There are many different sub-categories of glazes such as crystalline glazes, shinos, raku glazes, and celadons. UnderglazeUnderglazes are clay-heavy formulas that are very opaque and stable. One way to think about them is that they are the 'color' without the 'shiny' built in. Because they are so stable, they are often used for detailed paintings and delicate line work. They can be applied to greenware (clay pieces that have not yet been fired) or bisqueware, over or under other glazes. LusterAlso called 'overglazes', these are a special type of fired finish that requires an additional firing after the glaze firing. Gold luster is probably the most common type of overglaze, though there are other options such as Mother of Pearl. These specialty finishes are fired to much cooler temperatures than most glazes (usually in the 019-016 range). Choosing the Right GlazeThe most important consideration when picking out your glazes is the firing range. It is critical to match your glazes to your clay body. If you are working with low-fire clay, you will want to pick low-fire glazes. For mid-fire clay, choose mid-fire glazes. If you are taking classes at a community studio that uses high-fire clay, they will usually provide you with several glaze options that are formulated for their firing temperatures. Ask your instructor before bringing in outside glazes to use in their kilns. Some low-fire glazes do well at mid-fire or even high-fire temperatures, but the pendulum does not swing the other direction. If you fire mid-fire glazes to low-fire temps, they will not mature. Instead of looking shiny and colorful, they will be chalky and dull. You also don't want to over-fire a clay body to accommodate a higher-temperature glaze. Over-firing clay can cause it to crack, melt, and/or stick to the kiln shelf. For beginners, we strongly recommend just picking a firing range and sticking with it for a while. Later on, after you've gotten your feet wet, you can start to branch out. Applying GlazesBrushingNearly all commercial glazes are formulated for a brush-on application. To apply a brushing glaze, shake the bottle vigorously to mix the contents before opening. Wipe your bisque piece with a damp sponge to remove any dust. Apply 2-3 coats of glaze to the bisque surface, allowing each coat to dry in between. The first coat will take only a few minutes to dry. The second will take much longer (about 20 minutes). Be patient! The application should be fairly thick, like applying BBQ sauce to a rack of ribs. Alternate the direction of your brush strokes between coats. Most commercial glazes require 3 coats, but check the label to verify before you start. Some glazes, like clears, need fewer coats. Always read the application instructions on the bottle before beginning to glaze. DippingIf you've taken a class in a high-fire studio, you've probably encountered this method of glaze application. Dipping glazes are typically mixed in large batches (3-5 gallons) and stored in lidded buckets. To apply dipping glaze to your piece, stir the glaze thoroughly to re-mix the ingredients. Apply wax resist to the bottom of your bisque piece to repel the glaze. Once the wax is dry, use your fingers or dipping tongs to submerge your bisque piece in the glaze bucket for 2-3 seconds. Remove the piece and allow excess glaze to drain/drip off the piece and back into the bucket. Once the dripping stops, set the piece aside to dry. Clean up the waxed bottom and any unwanted drips with a damp sponge. SprayingSpraying glazes requires specialized equipment, most importantly a properly-rated respirator. Airborn silica dust is harmful to your lungs and should not be inhaled. To achieve an even application of glaze, place your piece on a banding wheel inside the spray booth or other designated area. Fill your spray gun with dipping glaze. Brushing glazes are too thick for this method of application. Commercial underglazes can be thinned with water for use in a spray gun, however be aware that you may need to apply an extra coat or two to achieve full opacity. To apply the glaze, turn your piece on the banding wheel slowly, spraying glaze in quick, even passes side-to-side until the entire piece is coated. Heavier application will result in drips of glaze, which may or may not be your intent. Multiple coats are needed to achieve full coverage. Spraying glazes is a very gestural method and can provide a wide range of results depending on the artist wielding the spray gun. Layering GlazesOnce you have a grasp of the basics of glazing, you might want to experiment with layering. By placing a few layers of one glaze atop a few layers of another, you can get a result that is wildly different from either one of the glazes individually. This is because the glazes contain chemical components that interact with one another during the firing. Independently, they may act one way, but when combined with each other, they create something new.
Though many commercial glaze manufacturers test glaze combinations and publish recommended layering guides, layering glazes is a relatively unpredictable process. It's important to approach this technique with an open mind and no expectations. Also be aware that combining glazes often means they will run/flow more during the firing, so it's a good idea to place a bit of scrap kiln shelf beneath your experimental pieces.
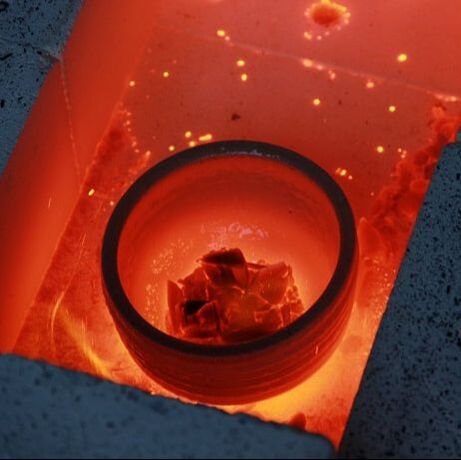
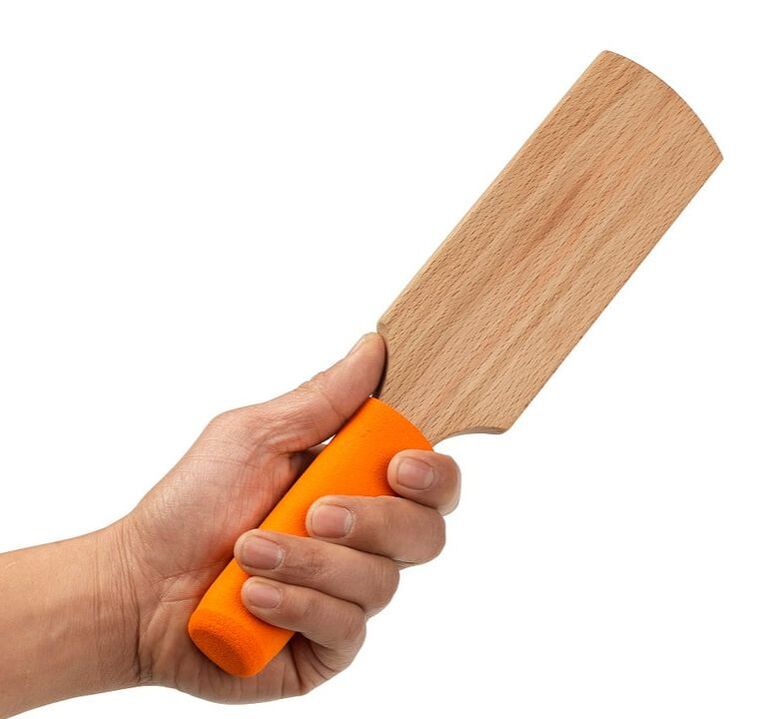
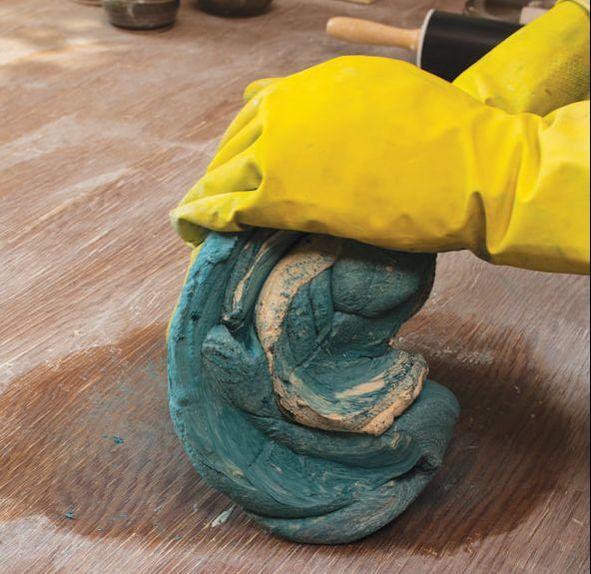
FoundationsLet's start with the core concepts of working with this material. 1. Clay is water-based.This means it will dry out over time when exposed to air. Keep your unused clay wrapped up tightly in its plastic bag. A spritz of water will restore some moisture to the clay if it begins to get too dry. If you want to save an in-progress piece for later, make sure to wrap it up between sessions. 2. Work on a porous surface.Materials like canvas, plywood, newspaper, and even old sheets can keep the clay from sticking to your table as you work. 3. Keep your clay pieces no more than the thickness of your thumb.This will allow the clay to dry and fire properly. Want to make a big sphere? Just hollow out the inside! 4. Tools are only limited by your imagination!Anything can be a tool! Explore your home to find interesting textures and objects that can be used as tools. Doilies, jewelry, and kitchen utensils are a great place to start! Just wash your makeshift tools in the laundry or dishwasher when you're done. 5. Clay is non-toxic and must be fired to be made durable.This requires extreme temperatures of over 1800° F. Unlike polymer clays (like Sculpey), putting pottery clay in the oven for a few hours won't do much. Want to keep your clay creation forever? See what studio offer firing services! Types of ClayThere are three main types of water-based clay:
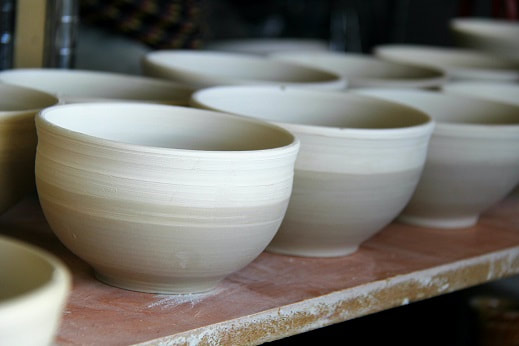
DryingOnce the piece is finished, it needs to dry completely before it can be fired. Simple shapes like cups, bowls, and trays can usually be left out in the open to dry, however if you have any delicate attachments or uneven thickness in various parts of the piece, it is best to dry it slowly. Drape a sheet of plastic (like a trash bag) loosely overtop the piece. This allows some fresh air to reach the clay, but at a lesser rate than if you left it completely uncovered. After a few days, remove the plastic and let the piece finish drying in the open. It is best to dry clay pieces on a flat, porous surface. Clean UpTools and work surfaces can be cleaned with a sponge and water, and soap if needed. Clothes that get clay on them can be washed right along with the rest of your laundry, though you'll want to knock any large clumps off first. Clay can clog drains over time, so don't put a big chunk down the kitchen sink! Scrape as much off of your tools as possible before washing. Whenever sweeping up dry clay, be sure to wear a properly-rated respirator and ventilate the space as well as possible. Ready to dive in?Here are a few helpful links to get you started on your clay journey!
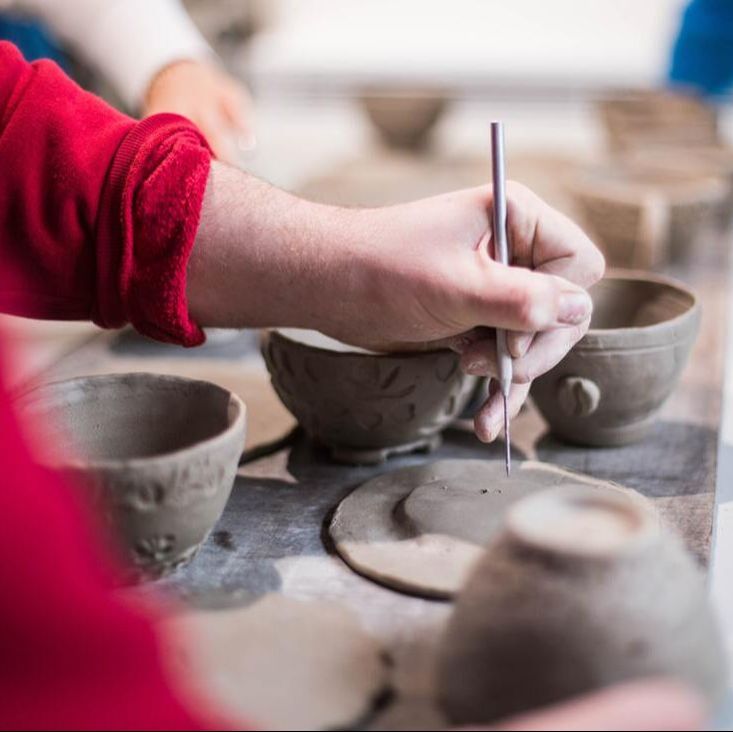
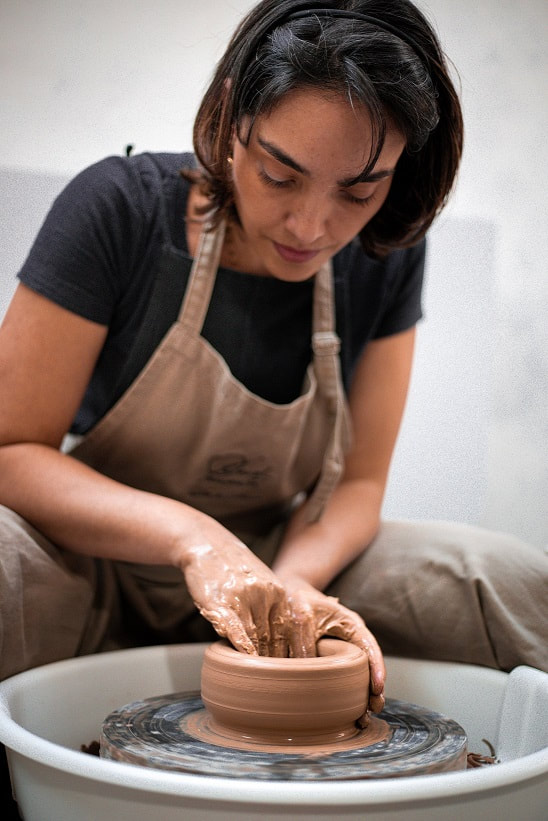
 When it comes to working with clay, the possibilities and techniques are virtually infinite, but there are a few core techniques that should be familiar to any potter. In this lesson, we will take a look at some basic methods and terminology that can help you get a foundational grasp on the different approaches to creating objects out of clay.
TERMS TO KNOW
TERMS TO KNOW
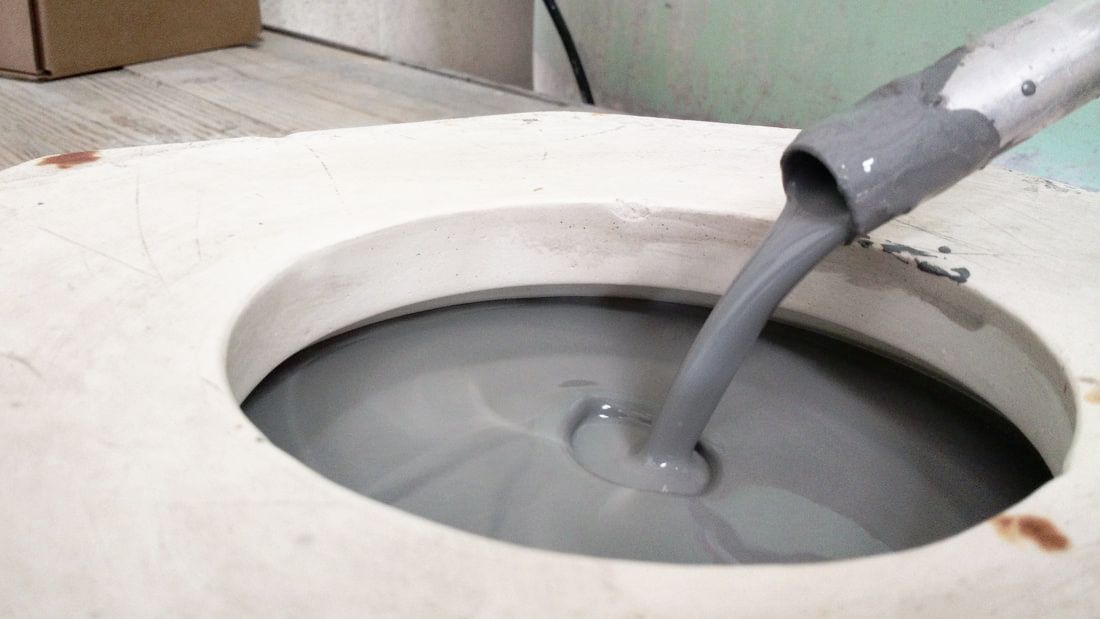
This may seem like a quick and efficient way to produce consistent ware, but many people underestimate the amount of time and energy that goes into the setup of this process. While many commercial molds and casting slips are available, venturing into custom territory involves learning about plaster, slip formulation, and multi-part mold making, which is an art form in and of itself. That being said, a beginner who is not picky about shapes can often find used slip molds for sale locally (Craigslist or estate sales) at inexpensive prices, and commercial slip itself is not terribly expensive. Armadillo makes two low-fire casting slips right here in Austin, and offers several mid-fire options as well. TERMS TO KNOW Slip tank: A large storage container designed specifically for slip. They often have dispensing nozzles and a mixing apparatus called a blunger incorporated into the design. Mold bands/straps: Large rubber bands or ratchet straps used to keep the pieces of a multi-part mold together while slip is poured into it. Deflocculant: A chemical added to slip formulas to reduce viscosity, helping the component materials stay in suspension while also making the slip pour more smoothly. (Commercial slips already have this chemical added.) While nearly all approaches to working with clay fall into one of these three broad categories, there are always outliers. This is nowhere near a comprehensive list. The number of hand building techniques alone could fill several dictionary-length books. Exploration lies at the heart of ceramics, and we encourage you to dig deeper into the methods that inspire you. Keep learning, keep discovering. The rabbit hole goes on forever.
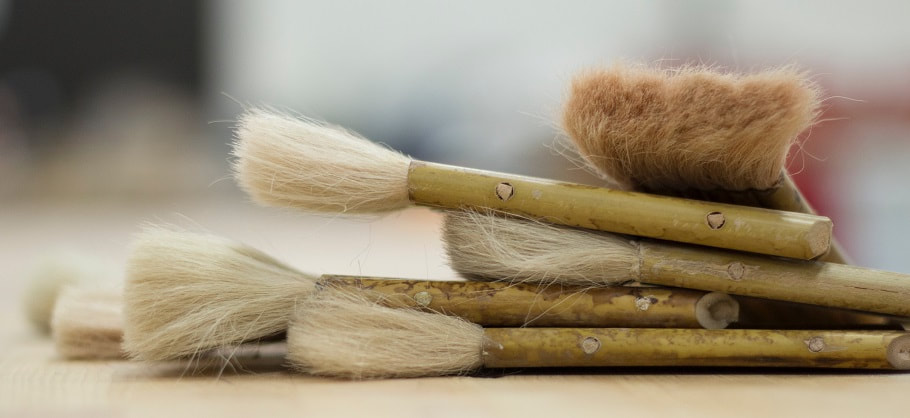
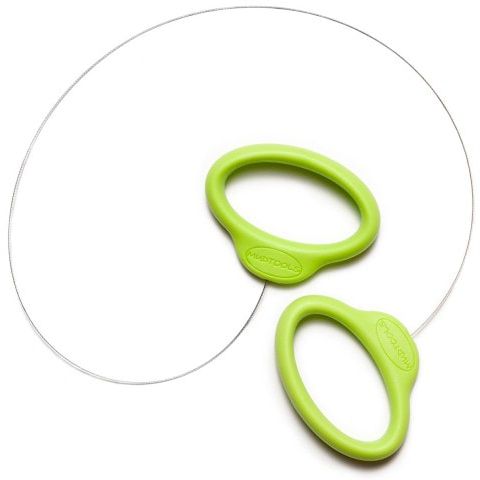
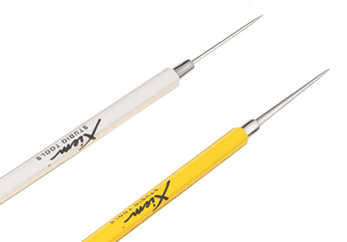
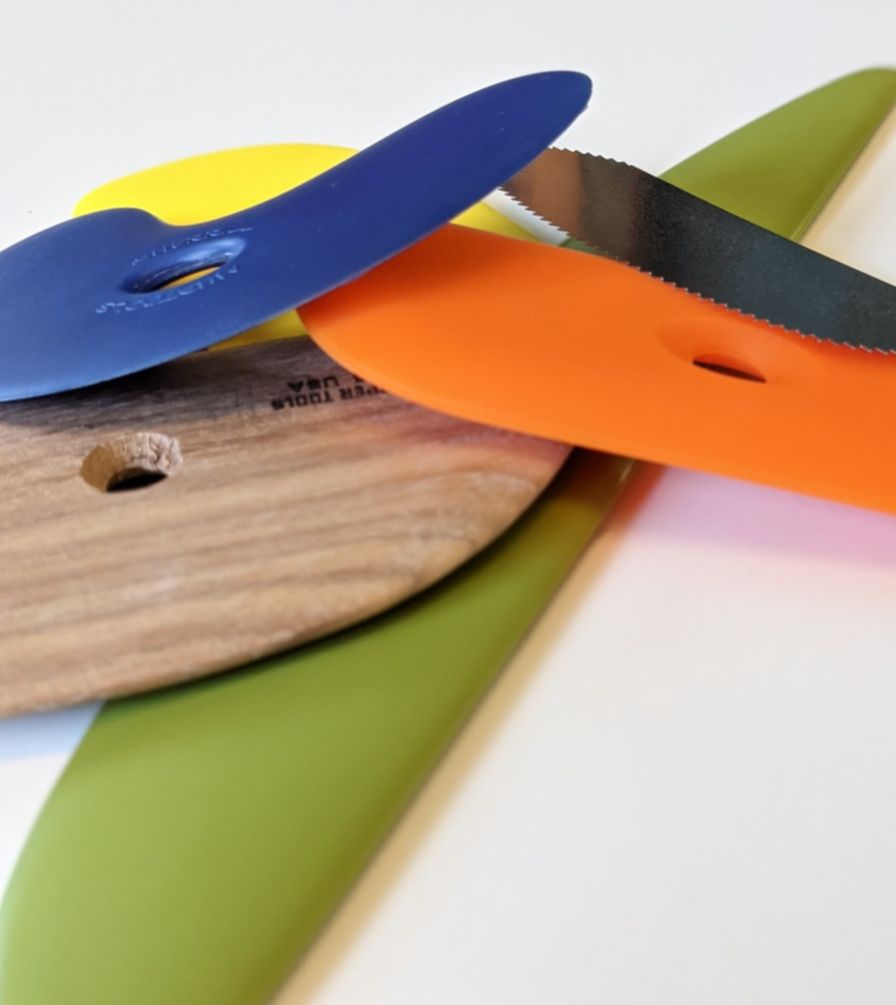
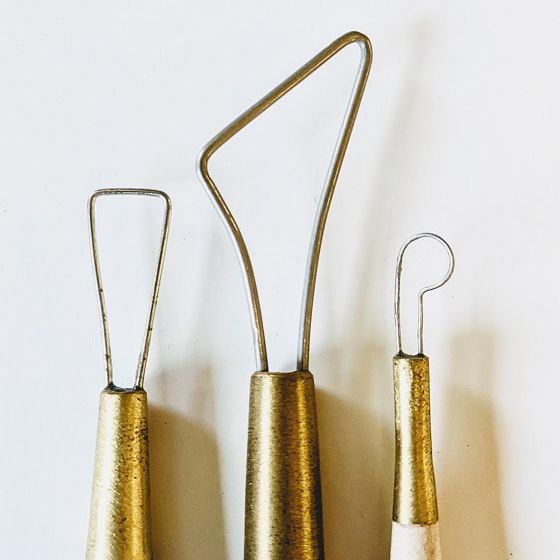
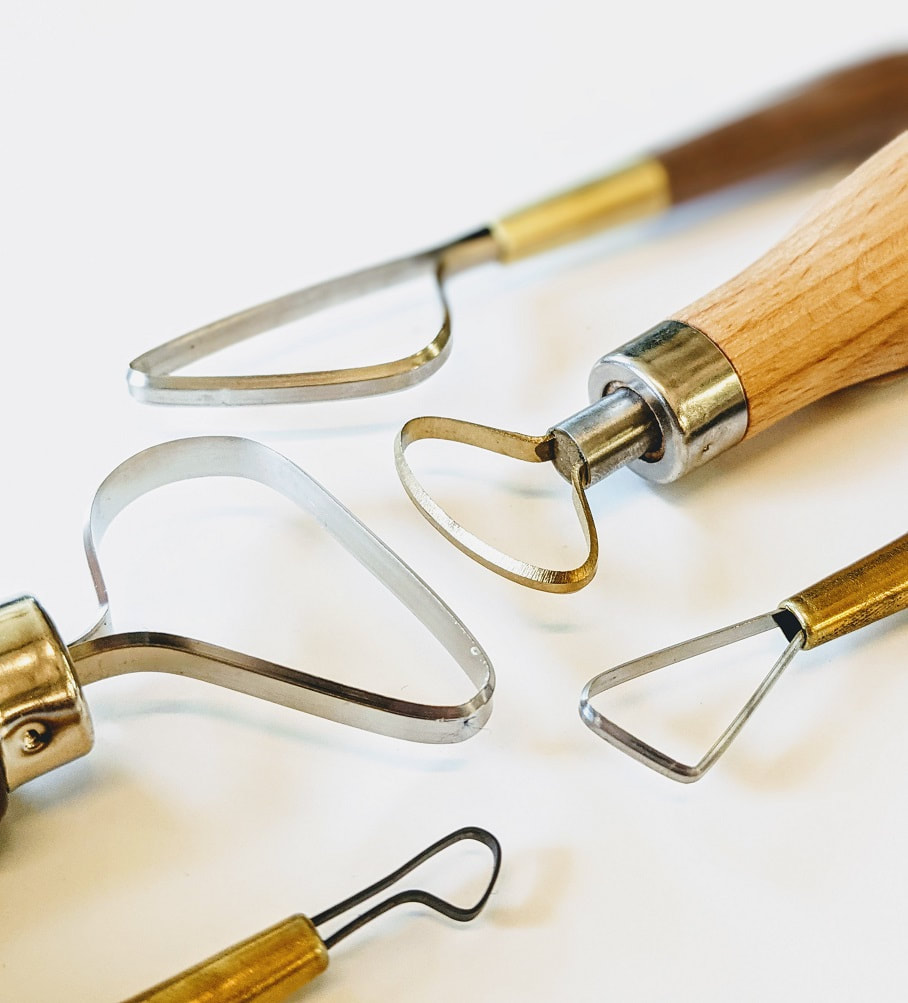
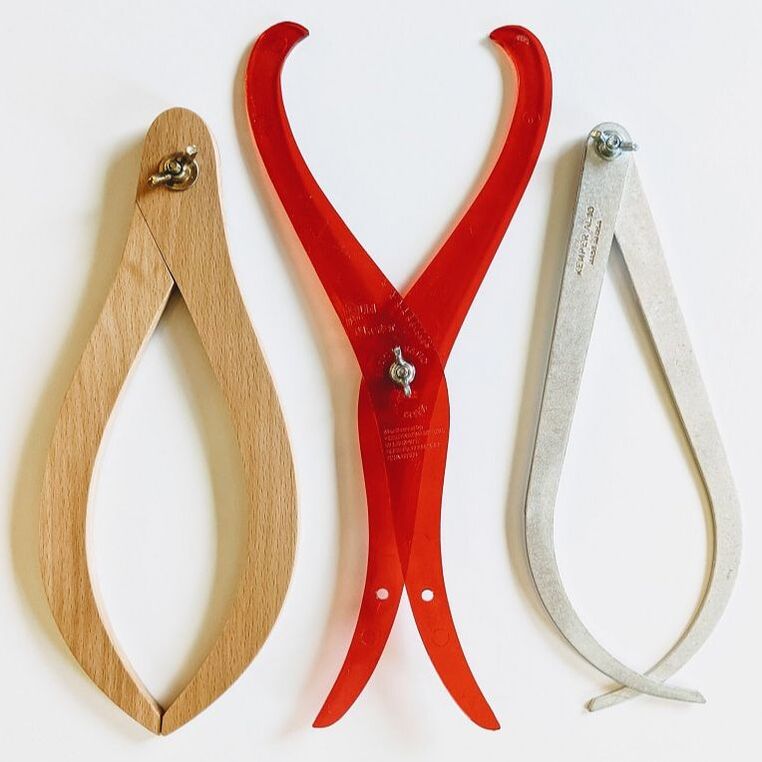
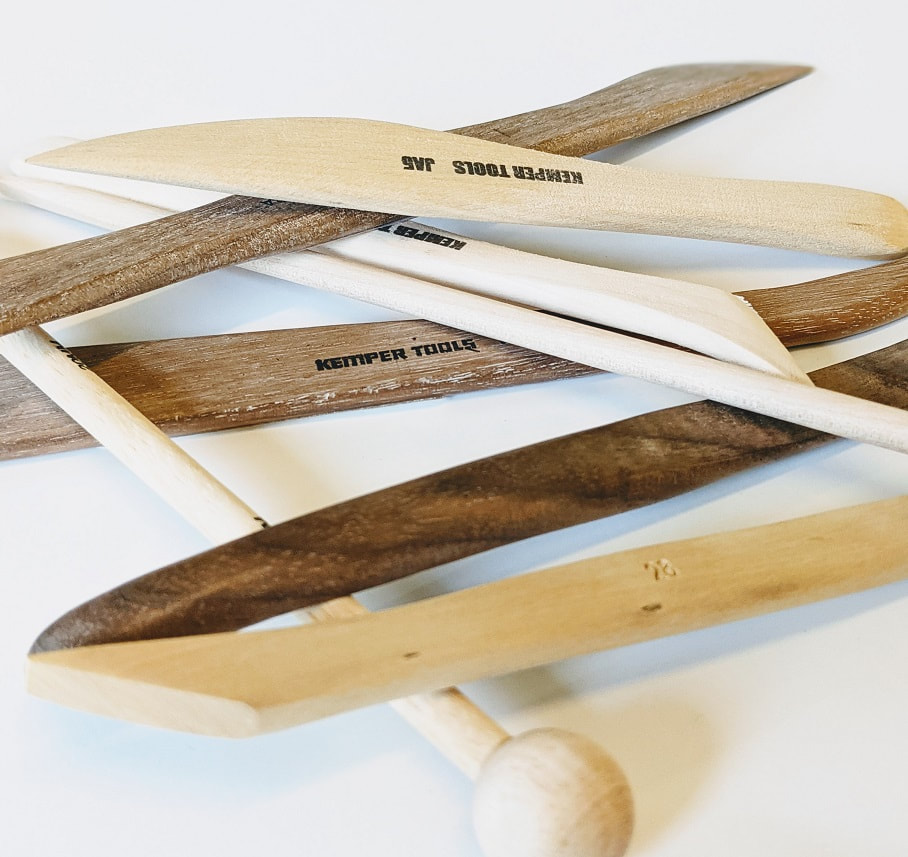
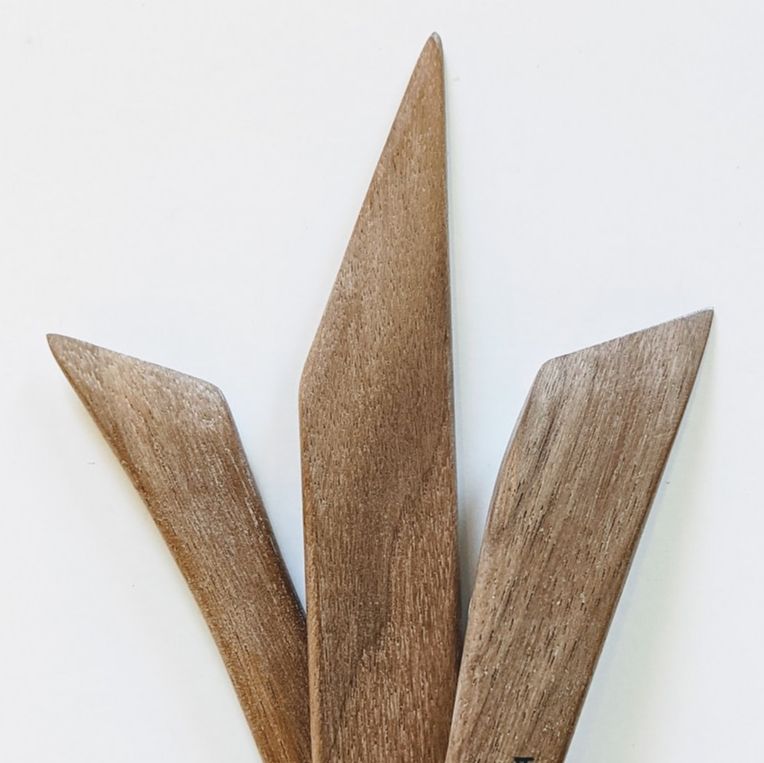
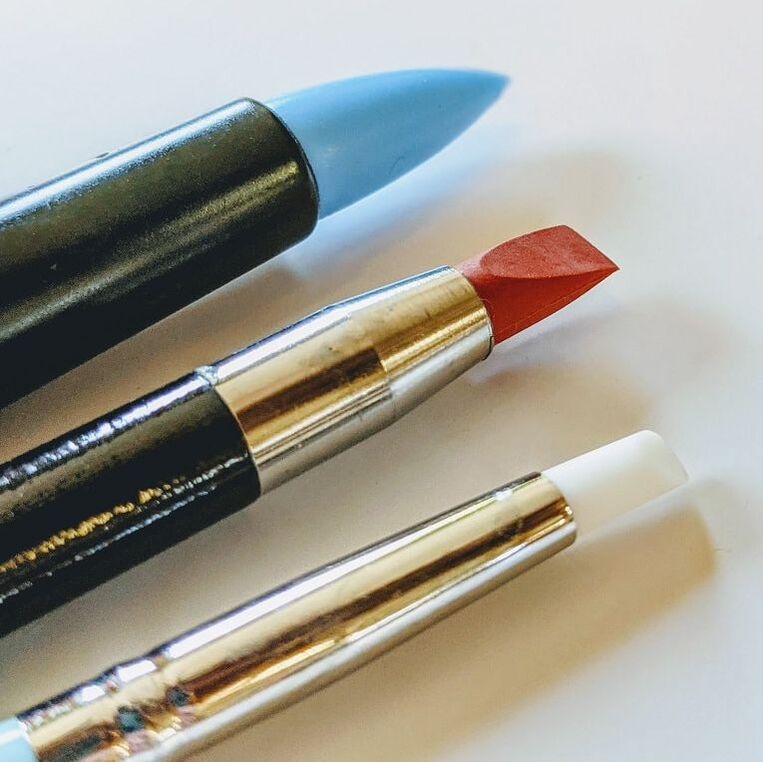
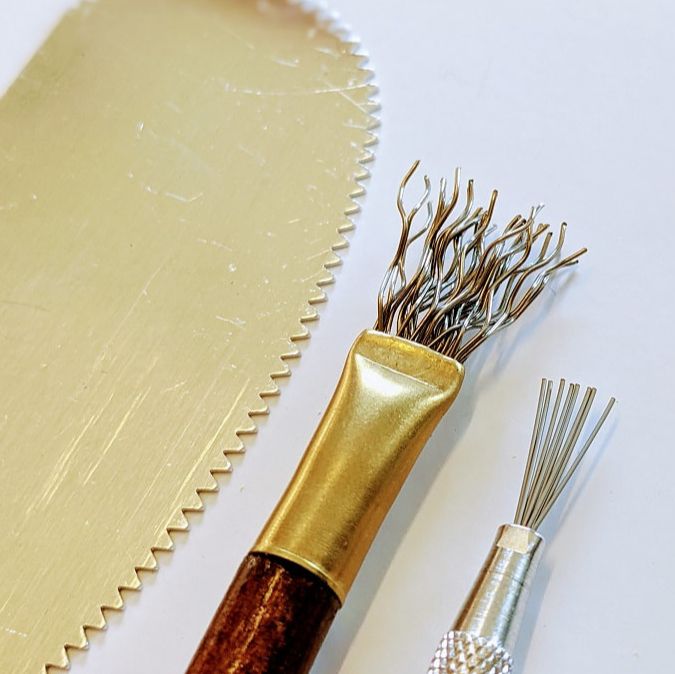
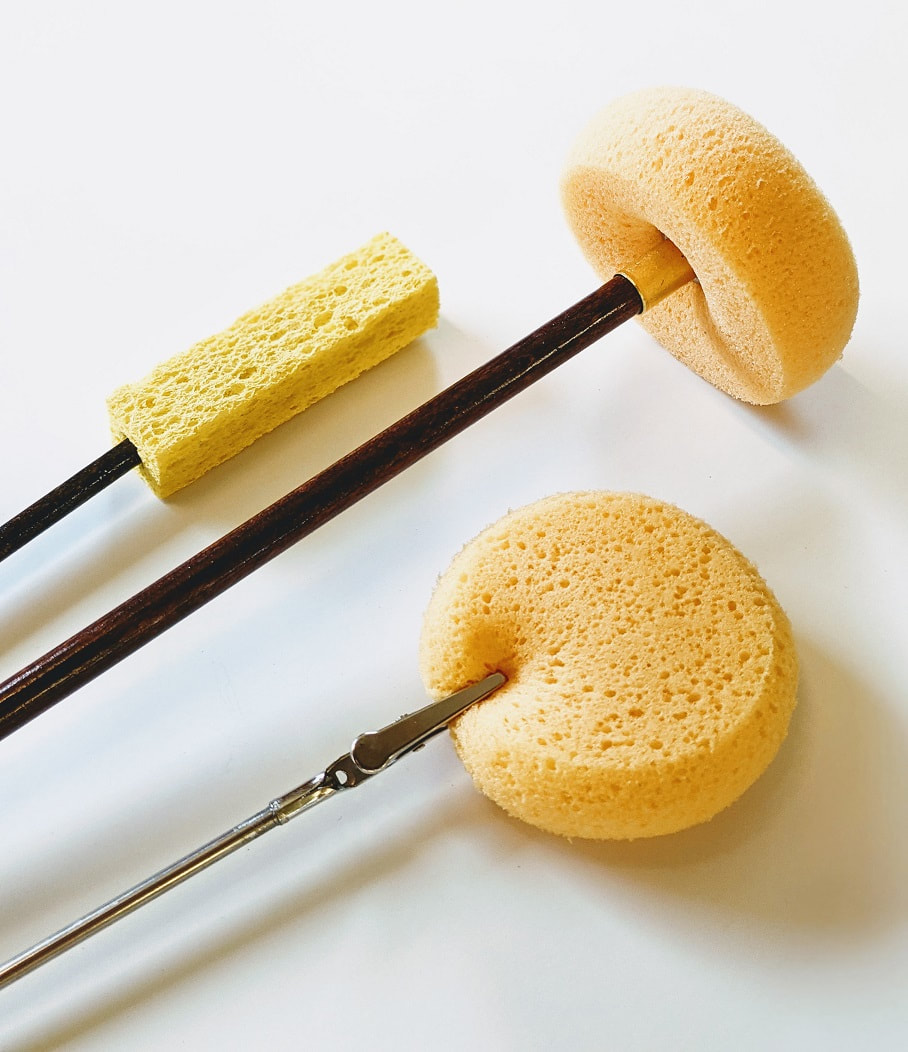
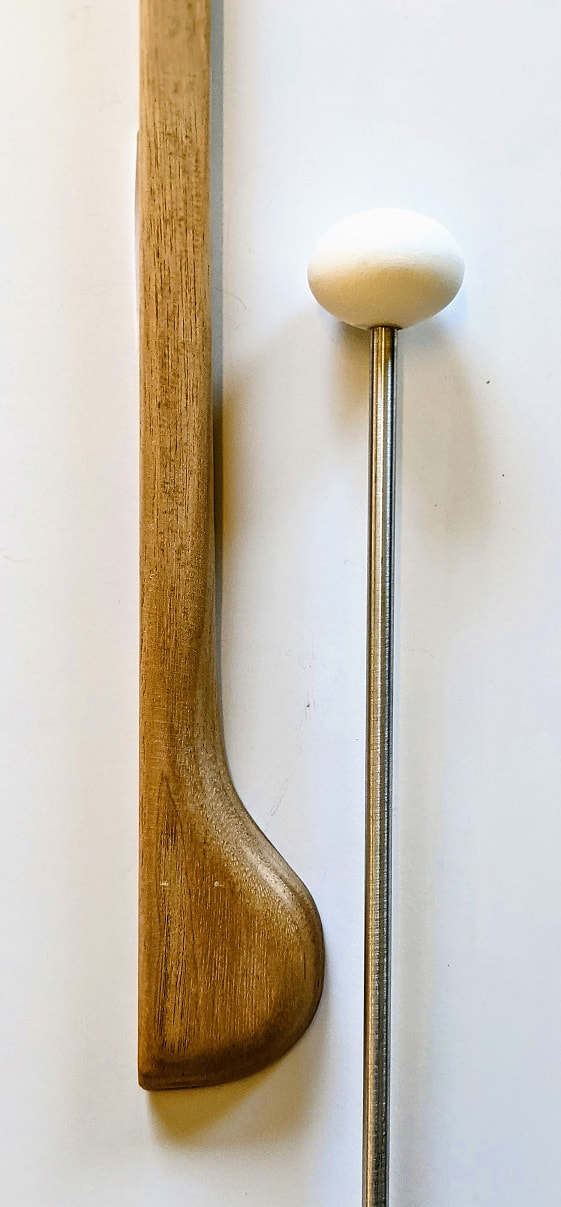
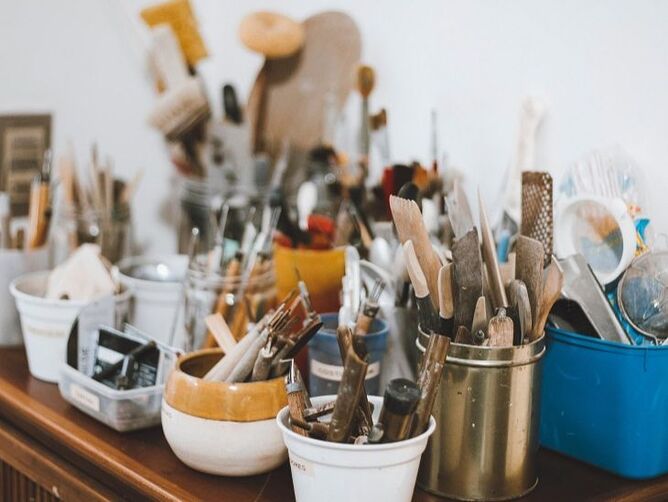
One walk past the tools section at Armadillo Clay may leave your head spinning. There are hundreds of options, all shapes and sizes of every tool type imaginable. While there may be no end to the variety of clay tools on the market (and more are being invented every day), there are some basics that appear fairly consistently in any studio.
This is by no means a comprehensive list. There are countless tools out there in the clay world. In the end, a tool's uses are limited only by your imagination, and just about anything can be a tool.
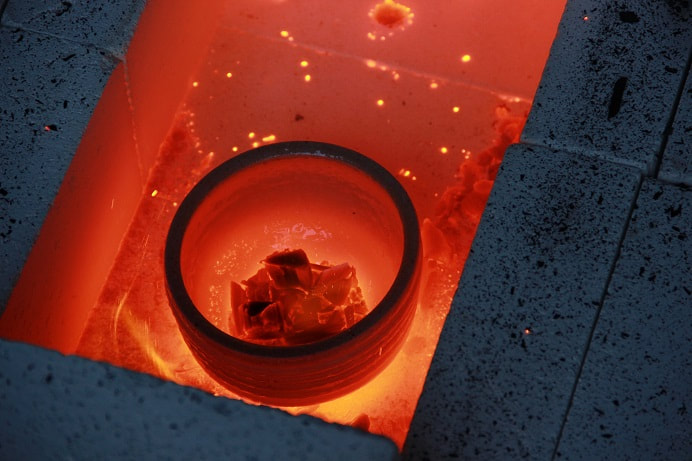
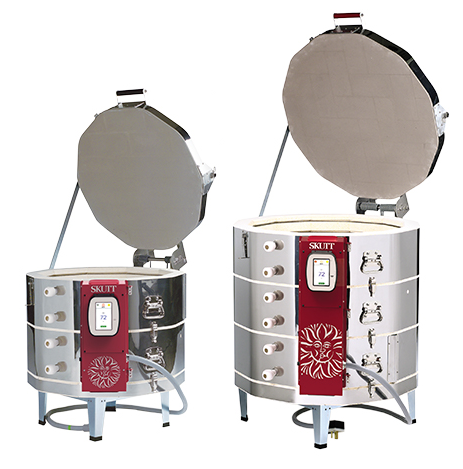
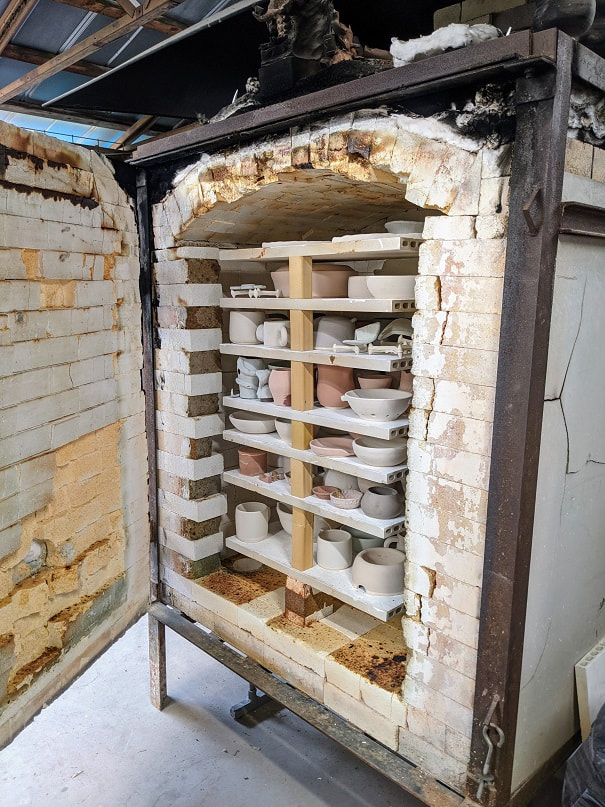
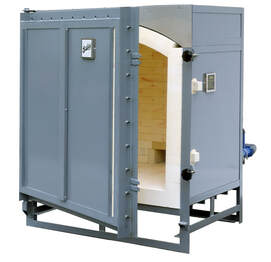
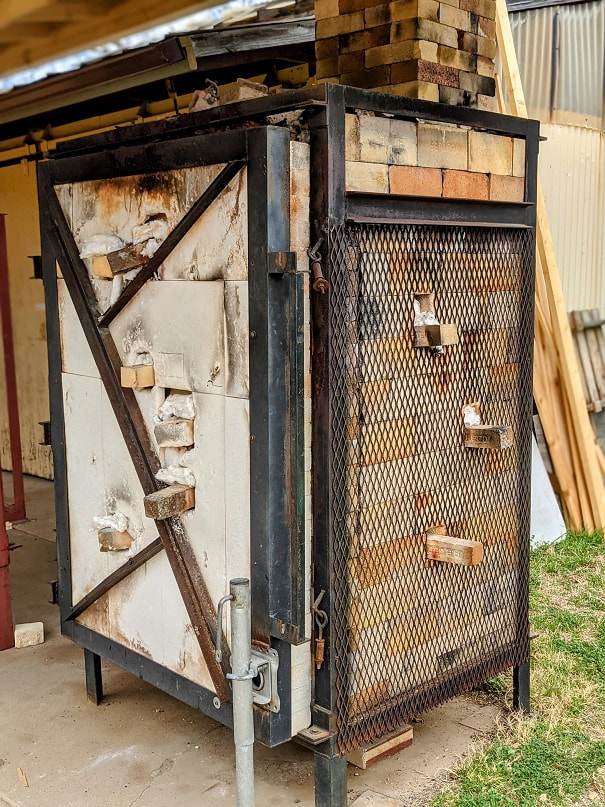
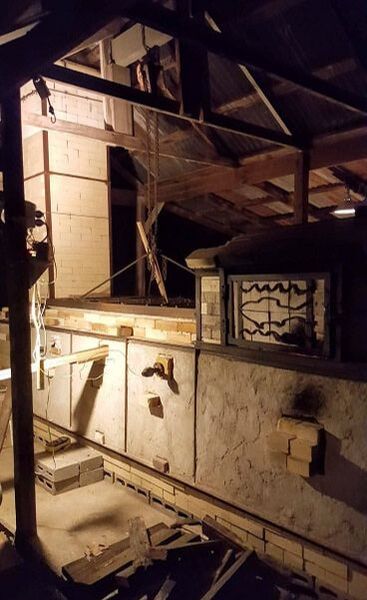
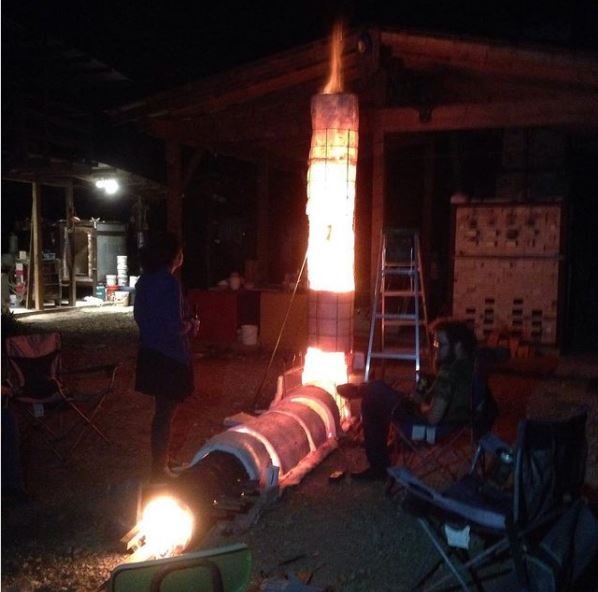
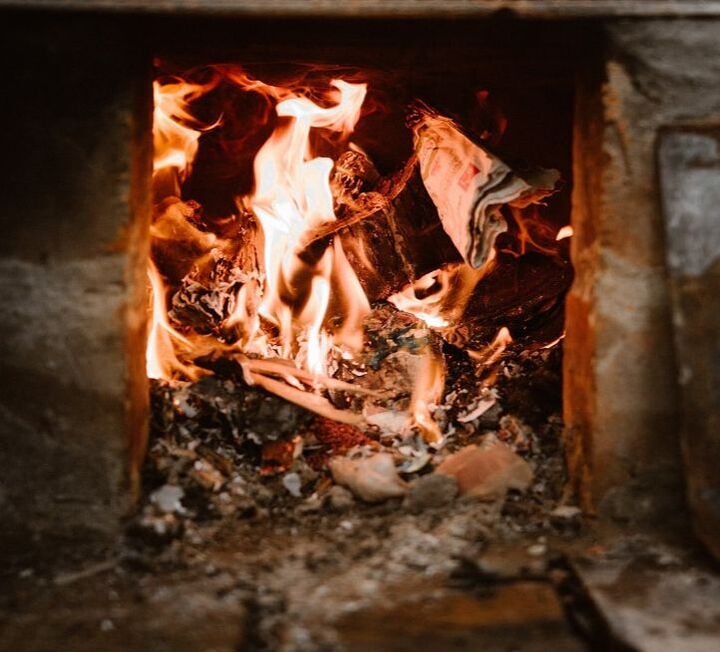
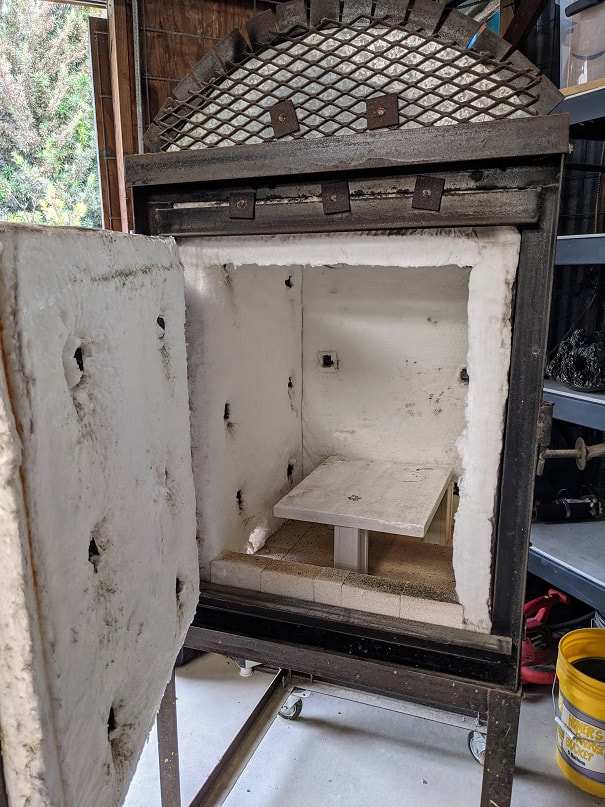
Don't be afraid to experiment! Many teaching studios focus solely on the making part of the ceramics process and never expose their students to the loading and firing of kilns. While the reasoning behind this is perfectly sound (one mistake can ruin an entire kiln load of work!), this exclusion leaves many fledgling ceramists with a massive hole in their clay education. In this lesson, we'll cover some basics about kilns and firing to fill in some of those gaps. Please note: To best understand this lesson, it is important to have a decent grasp of the pyrometric chart. If cones are still a mystery to you, we recommend taking a look at the Cones: Explained lesson before reading further.
Oxidation vs. ReductionYou may have heard these terms in passing or noticed them on our cone 10 clay listings, but what exactly do they mean? Simply put, the when it comes to ceramics, 'oxidation' and 'reduction' refer to the oxygen content of the atmosphere inside the kiln during firing. OxidationThis term means that there is free oxygen inside the firing chamber throughout the firing process. Though it is possible to fire a gas kiln in oxidation, usually this term is used when discussing electric kilns. Since there is no fuel in an electric kiln to consume the oxygen inside the chamber, there is usually plenty of oxygen floating around in there. Therefor, you may hear the word 'oxidation' used interchangeably with 'electric' when discussing discussing kilns or firings.
At its most basic, a kiln is just a box of fire, but the sizes, designs, and fuel sources are virtually endless. Electric is easy, safe, and reliable. Other fuels are a bit more involved, but can produce unique, truly one-of-a-kind results. Through classes, research, and experimentation, you can experience many of these methods for yourself and add to your ceramics knowledge over time.
4 Types of Cones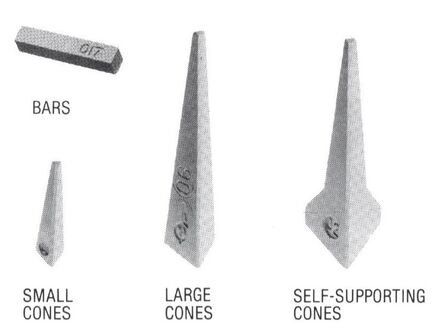 There are 4 different types of cones available. Bars: These are used in a kiln-sitter type controller. When the kiln reaches the target temperature, the bar bends and triggers the kiln to turn off. Small Cones: Also known as 'sitter cones'. They serve the same purpose as bars. Large Cones: These are the traditional witness cones (for 'witnessing' the temperature of the kiln as it climbs). They are used to monitor heat inside the kiln. Self-Supporting Cones: Witness cones with a broad base, eliminating the need for a cone holder. They serve the same purpose as large cones. Using Cones in FiringsTechnology is great. Thermocouples, pyrometers (handheld temperature readers), and digital controllers have made monitoring your kiln's firing easier than it ever was in the past. There are plenty of scenarios, however, where you may want to use cones to verify that you hit the proper temp or just get more detailed information about how your kiln is performing. Potters do this by including cone packs in their firings. 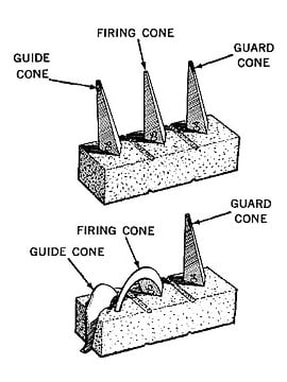 A cone pack is a set of witness cones placed in a holder. This holder can be something as simple as a lump of clay (just make sure you let the clay dry completely before firing the kiln!). A cone pack typically contains 3 or more cones at and around the target firing temperature. These packs are placed directly in front of peepholes so they can be monitored throughout the firing. Guide Cone: This cone traditionally acts as a guide to signal that the kiln is almost up to temp. It is usually one cone below (cooler) than the target temperature. Firing Cone: This cone matches the target temperature for the firing. Guard Cone: This cone serves as a warning that the kiln has gotten too hot. It is usually one cone above (hotter than) the target temperature. For electric kilns, these packs can be placed anywhere throughout the kiln and checked after the firing is complete to glean useful information about hot and cold spots in the kiln. Do I really need to know all of this?No. You don’t need comprehensive knowledge of pyrometric temperatures and the reactions that go on in clay and glaze, but you do need to know what you are working with. Clays and glazes fall into 3 main ranges:
For the most reliable results, it is best to match your clay with your glazes. If your clay’s recommended firing temperature is cone 06-04, then you should use low-fire glazes. These may say on the label something like “apply to shelf cone 04 bisque and fire to cone 06-05”. This means your clay has already been fired to cone 04 without glaze (bisque fired). Once glaze is applied, you will then fire the piece again to cone 06-05. If the label says fire to cone 5-6, do not use on low-fire clay! Remember the zero is important! At low-fire temperatures, a mid-fire glaze will not melt. At mid-fire temperatures, a low-fire clay could warp, slump, bloat or even melt. Of course there are exceptions to every rule but if you are a beginner, avoid confusing yourself and stick to one cone range. As you gain experience, you can experiment with different temperatures for a given clay or glaze, but remember it is exactly that: an experiment. Results will vary. Experimenting requires testing and a tolerance for failure. Usually this failure will only result in an unattractive pot, but it could ruin your piece and/or kiln shelf. If you are new to clay you will encounter a lot of terminology that is unfamiliar, even confusing. Just remember: 'cone' is a measurement of heat and whether or not there is an “0” in front is very important. Good luck and happy firing!
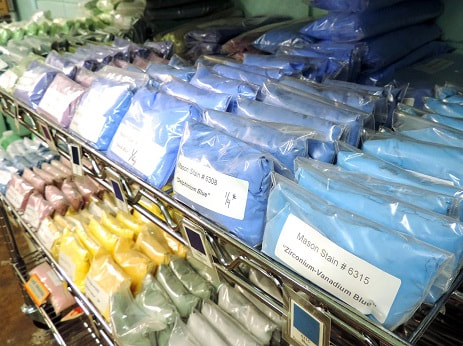
The Limitless Possibilities of Mason Stains
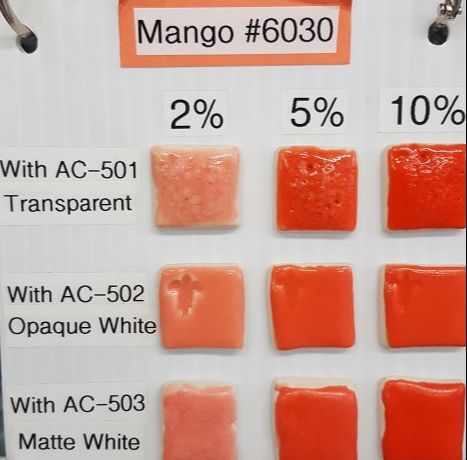
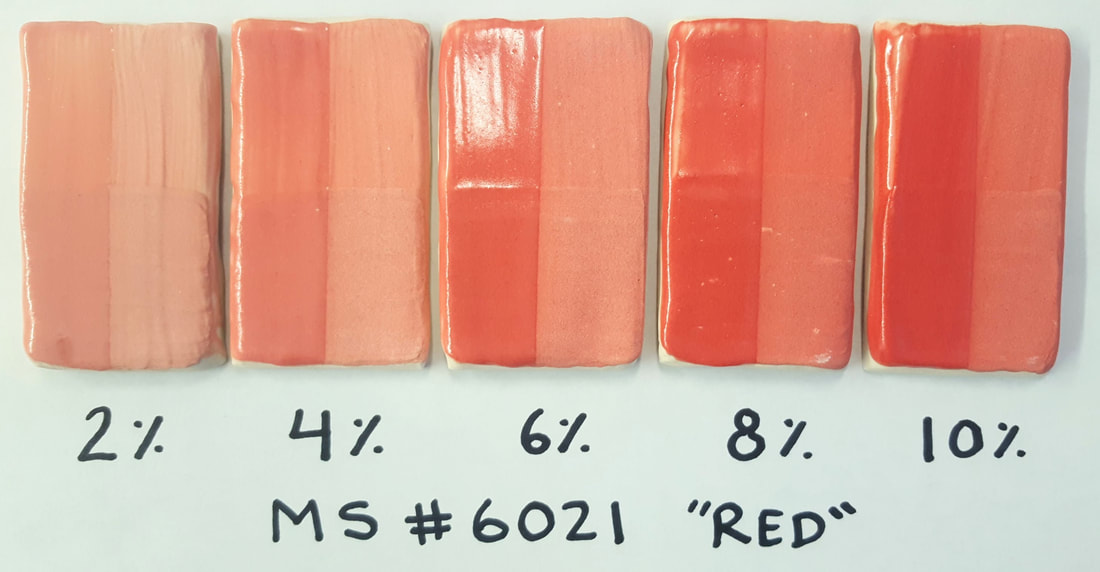
At the end of the day, using mason stains requires a bit of testing, no matter what application you are pursuing (some less than others). Each different stain has its own properties, and some colors are more powerful than others. You may only need 2% (by dry weight) of Sage Gray, but 15% of Titanium Yellow to achieve the same level of saturation for each color. And those are just slip colorant percentages for cone 5/6. If you want to make a Titanium Yellow glaze, your percentages will be different. If you want to make a low-fire slip, again, your percentages will be different. With so many variables in the mix, it is important to take the time to test! Testing Stains in SlipLet's get down to the nitty-gritty of how to go about testing those colors to hone in on your target hue. We're going to explore this process through an exercise of testing one stain color in various concentrations in a decorative slip. This will provide a basic understanding of the process, which you can then build upon with other testing methods. Protect your lungs! Anytime you are working with dry materials, you should wear a properly rated and well-fitting respirator! Step 1: Establish Your BaseTo begin, we need to identify a base slip formula. There are thousands of formulas out in the world, in books and online, so do some hunting and choose one that has a good amount of community feedback. You will want to find a white or off-white slip that is intended for your firing range. For surface slips, you will need to consider the clay body onto which the slip will be applied. Choose a stoneware slip to apply to a stoneware body, a porcelain slip to apply to a porcelain body, etc. This will help match up the shrinkage rates of the two bodies and help them fit together better, minimizing cracking. Your base recipe should add up to 100, and the colorant (Mason Stain) will be in addition to that. It's a good idea to test a few different slip formulas on your clay body before committing to one and moving forward to the next step. If all else fails, you can save your clay scraps and let them dry out. Pulverize them into a powder to get your dry slip. Step 2: Choose a ColorIt's tempting to go hog-wild and want to test every color at once, but do yourself a favor and just pick one. You can come back and repeat this process again and again. Sticking with one color at a time helps avoid mistakes, especially when you are first starting out. Step 3: Prepare Test BatchesDecide how many different increments of the Mason Stain you want to test. I'd recommend at least 5 to give yourself a good amount of data and allow for a wider range. For the sake of this exercise, we'll stick to 5. We need to make up 5 separate mini-batches of our chosen base slip. We don't need much for each test, so 100 grams should be plenty. We will be working at a very small scale, so precision is crucial. Make sure you have an accurate gram scale on hand. Measure out your 5 batches of dry slip in 5 separate containers. 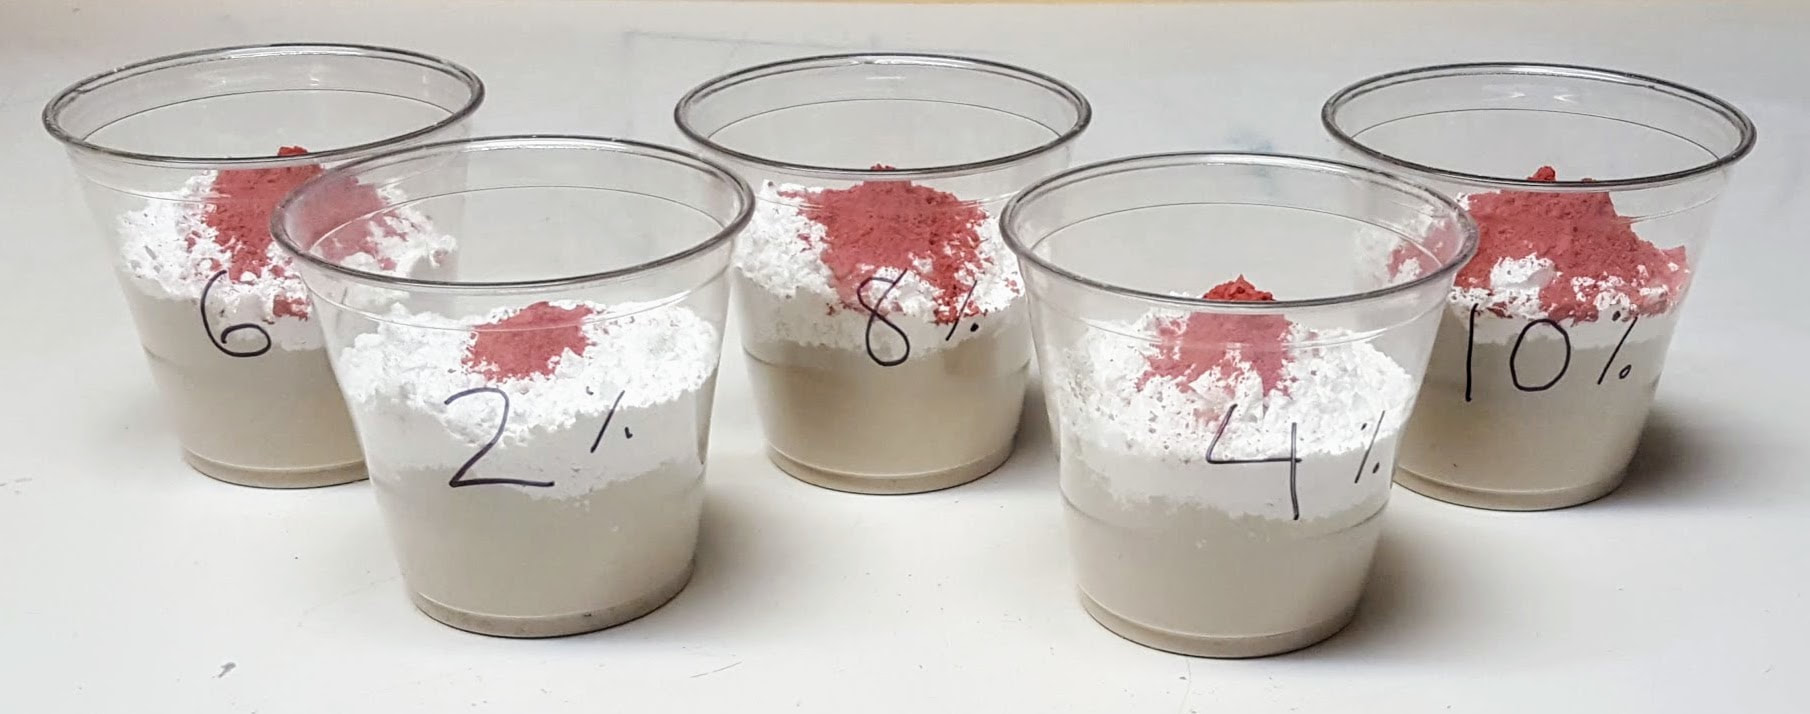 Step 4: Add Mason StainNow that you have 5 containers of dry slip prepared, it's time to add the colorant. Decide ahead of time what percentages you are testing and mark your containers and your test tiles. For this exercise, we're going to test the following percentages: 2%, 4%, 6%, 8%, and 10%. This is a reasonable range for most Mason Stains, however there are some that require higher percentages. Carefully measure your stain of choice and add them to your base batches. If you have 100 gram batches, this means you would add 2 grams of stain for 2%, 4 grams of stain for 4%, and so on. If you are mixing larger batches, calculate the appropriate grams for each batch. Carefully stir each batch to combine the dry ingredients. Step 5: Slaking and MixingAdd just enough hot water to each batch to completely cover the dry materials. Wait a few minutes for the water to make it's way down through the dry powder, stir gently, then add more water if needed to cover the dry ingredients again. It's best to cover your batches and let them slake for at least a few hours, if not overnight. Slaking is a soaking process that gives the water sufficient time to fully saturate the dry materials. Because of the extremely fine particle sizes, this can take several hours. Using hot water rather than cold water will help expedite this process. Once the batches are properly slaked, you can mix them up. You may need to add a bit more water to achieve the correct consistency (heavy cream). Blend until smooth, then sieve with a 60 mesh screen to break up any remaining clumps of dry material. Be diligent to not cross-contaminate your test batches. Clean your mixing utensils and sieve thoroughly between each batch. Step 6: Test Tiles
In GlazeThe process for testing Mason Stains in glaze follows the same procedures as previously discussed. Instead of dry slip batches, you will have dry glaze batches to which you will add your stain. While the initial process may be the same, there is much more room for error when formulating glazes. The chemical interactions in glaze are much more volatile than in slip, so there is a decent possibility you will run into some glaze defects along the road. Working through these issues by adjusting your recipe will take time, but you will be rewarded with a custom glaze that is all your own. Additional reading is highly recommended when pursuing glaze formulation. John Britt article in Ceramic Arts Daily (photo below from this article) DigitalFire article on formulating and trouble-shooting 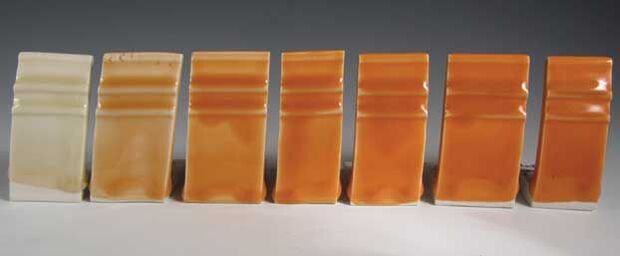  Spring is Here! With an unusually warm February come and gone, it's time to really start gearing up for spring! The official start of the season is on March 20th, but we're not waiting around to get to work in the studio! After the lull of winter, there are likely to be some chores that need doing to whip your creative space back into workable shape (I know mine is a horrid mess!), so we've made up a little checklist that might be helpful to you! Spring Studio Cleaning Checklist
Stepping into a dirty, disorganized studio can really put a damper on your creative motivations. Take a day this weekend to do some spring cleaning, and your artist within will thank you for it!
|